Building a gaming PC involves six core steps: selecting compatible components (CPU, GPU, RAM, storage, PSU, case), assembling them in the correct order, installing an operating system, updating drivers, and optimizing performance settings. Most first-time builders complete the process in 2-4 hours. Budget builds start around $700, mid-range systems run $1,200-$1,500, and high-end rigs exceed $2,000
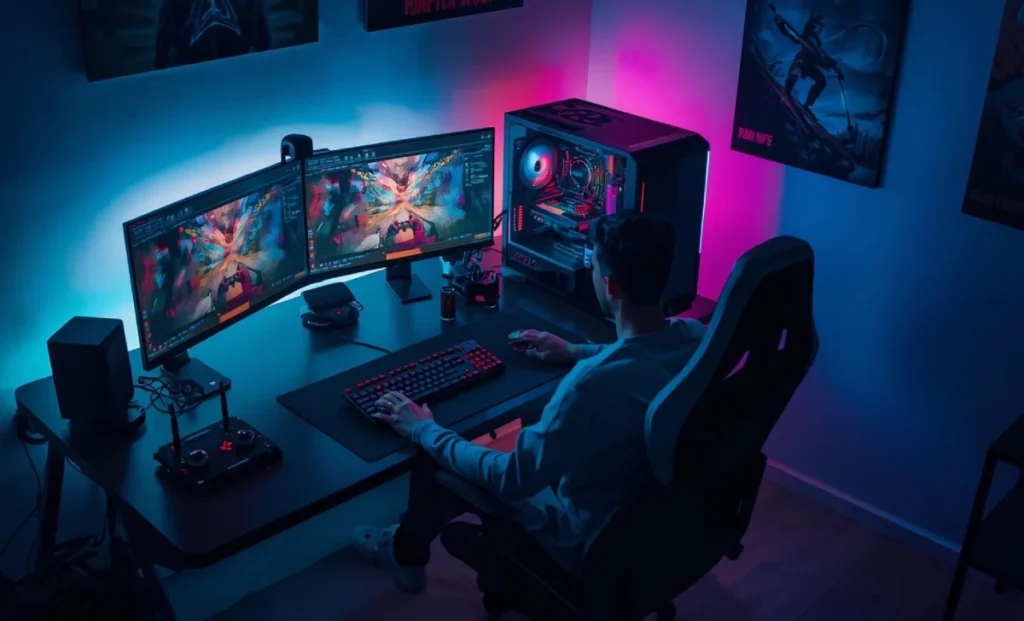
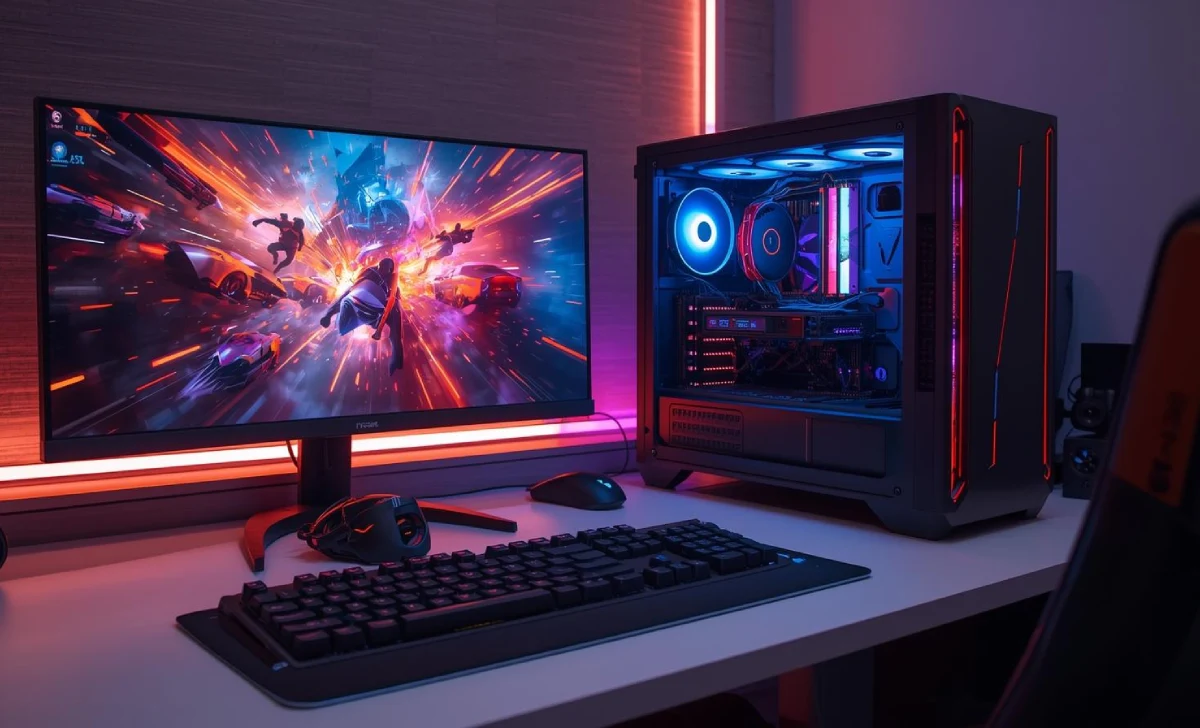
Have you ever wondered if you could build a gaming PC that outperforms prebuilt machines at half the cost? You absolutely can. Building your own rig gives you total control over performance, aesthetics, and upgradability. Plus, it’s surprisingly straightforward once you understand the basics.
This guide walks you through the entire process of building a gaming PC from scratch. You’ll learn which parts to buy, how to assemble them safely, and how to optimize your system for gaming, streaming, or even competitive esports. When planning a build, it’s smart to prepare for future gaming technology so your PC lasts longer.
By the end, you’ll have a custom gaming setup tailored to your needs and budget.
Buying a prebuilt gaming PC seems convenient, but building your own offers distinct advantages. You gain complete control over component quality and avoid paying markup fees that prebuilt manufacturers charge. Custom builds typically save you 15-30% compared to equivalent prebuilt systems.
Building also teaches you how your PC works. When something goes wrong or needs upgrading, you’ll know exactly what to do. You won’t need to rely on warranty services or pay for repairs. This knowledge proves invaluable over your PC’s lifetime.
The customization options are endless. You choose every part based on your specific needs—whether that’s maximum gaming performance, streaming capability, or getting into esports. Prebuilt systems often compromise on certain components to hit price points. Your custom build prioritizes what matters most to you.
First, decide if you want PC, console, or cloud gaming—your choice impacts the setup process. Building your own PC ensures you’re getting the best possible performance for your budget without unnecessary compromises.
Selecting compatible components forms the foundation of any successful build. Your parts need to work together harmoniously. Before you commit, weigh gaming laptops vs desktops to ensure a PC build is right for you.
Your processor (CPU) handles game logic and system operations. For gaming, aim for at least 6 cores. AMD Ryzen 5 or Intel Core i5 processors offer excellent value for most gamers. Budget around $150-$250 for entry-level CPUs or $300-$500 for high-end options.
The graphics card (GPU) matters most for gaming performance. It renders visuals and directly impacts frame rates. Budget builds can use GPUs like the AMD RX 7600 or NVIDIA RTX 4060 ($250-$350). Mid-range gamers should target RTX 4070 or RX 7800 XT cards ($500-$600). High-end builders might choose RTX 4080 or RX 7900 XTX cards ($800-$1,200).
RAM speed and capacity affect multitasking and loading times. Start with 16GB DDR4 (around $50-$70) or DDR5 (around $80-$110) for modern gaming. If you’re planning a game streaming setup, consider 32GB to handle encoding while gaming. Include capture cards or dual-PC options if you want a game streaming setup.
Fast storage dramatically improves load times and system responsiveness. Install your operating system and main games on a 500GB or 1TB NVMe SSD ($50-$100). These drives load games 3-5 times faster than traditional hard drives. Add a secondary 2TB hard drive ($50-$70) for mass storage if needed.
Your power supply unit (PSU) needs enough wattage to run all components safely. Calculate your system’s total power draw and add 20% headroom. Most gaming builds need 650-850W PSUs. Choose 80 Plus Bronze certified or higher for efficiency. Quality PSUs cost $70-$150 and protect your expensive components from power issues.
Don’t skimp on the PSU—cheap units can damage your entire system. Brands like Corsair, EVGA, and Seasonic offer reliable options. Modular PSUs let you attach only the cables you need, improving airflow and aesthetics.
Adequate cooling prevents thermal throttling and extends component lifespan. Small upgrades like SSDs and cooling systems can greatly improve gaming performance. Most CPUs come with stock coolers that work fine for basic use. Upgrade to a tower cooler ($30-$50) or all-in-one liquid cooler ($80-$150) for better temperatures and quieter operation.
Your case houses everything and affects airflow. Choose one with good ventilation, dust filters, and enough space for your GPU. Budget cases start around $50-$70, while premium options with tempered glass and RGB lighting run $100-$200. Ensure your case fits your GPU length and cooler height before buying.
Add 2-3 case fans (120mm or 140mm) for optimal airflow. Position intake fans at the front and bottom, exhaust fans at the rear and top. This creates positive air pressure that reduces dust buildup.
Building your PC requires patience and care, not technical expertise. If you’re just getting started with gaming, this PC build guide makes the process simple. Follow these steps for a successful first build.
Clear a large, well-lit workspace with plenty of room. Use a non-carpeted area to avoid static electricity. Gather these tools before starting: a Phillips head screwdriver, zip ties for cable management, and an anti-static wrist strap (optional but recommended).
Unbox all components and verify everything arrived undamaged. Read your motherboard manual—it contains crucial information about installing parts correctly. Remove your motherboard from its anti-static bag only when ready to install components. Place it on the cardboard box it came in to work safely.
Touch a metal object periodically to discharge static electricity. Even small static shocks can damage sensitive electronics. Work in a humid environment if possible, as dry air increases static risk.
Start by installing the CPU into your motherboard. Lift the retention arm, align the CPU using the corner triangle marker, and gently place it in the socket. Lower the retention arm to secure it. Apply thermal paste (if your cooler doesn’t have pre-applied paste) by placing a pea-sized dot in the CPU center.
Mount your CPU cooler according to its instructions. This varies by model but usually involves screwing a bracket onto the motherboard. Connect the cooler’s power cable to the CPU_FAN header on your motherboard.
Install RAM into the motherboard slots. Check your manual for the correct slots (usually slots 2 and 4 for two sticks). Line up the notch in the RAM stick with the slot, press down firmly until both clips snap into place. You’ll hear a satisfying click when properly seated.
Mount the motherboard into your case. Install the I/O shield first (the metal plate that goes in the case’s rear opening). Align motherboard standoffs with mounting holes and screw the motherboard down gently. Don’t overtighten—finger-tight plus a quarter turn is sufficient.
Install your storage drives. M.2 SSDs screw directly into the motherboard (check your manual for M.2 slot locations). 2.5-inch SSDs and 3.5-inch HDDs mount in drive bays using screws or tool-less brackets.
Slide your GPU into the topmost PCIe x16 slot (the long slot closest to the CPU). Remove the appropriate expansion slot covers from your case first. Press down firmly until the retention clip clicks. Secure the GPU to the case with screws.
Install the power supply in its designated location (usually bottom-rear of the case). Orient the fan downward if your case has bottom ventilation, upward otherwise. Secure with four screws.
Connect all power cables: 24-pin ATX to motherboard, 8-pin EPS to CPU, PCIe power to GPU, SATA power to drives. Connect front panel headers (power button, USB, audio) following your motherboard manual. Pair this build with a step-by-step gaming setup for a complete room design.
Physical assembly is only half the process. Your PC needs software and configuration before gaming. Optimise your build to handle modern online gaming platforms without lag.
Connect your monitor to the GPU (not the motherboard). Plug in your keyboard, mouse, and power cable. Press the power button. Your system should POST (Power-On Self-Test) and display the motherboard logo.
Enter BIOS by pressing Delete or F2 during startup (check your manual for the correct key). Verify all components are detected: CPU, RAM, storage drives. Enable XMP or DOCP profile to run your RAM at its rated speed. Save and exit BIOS.
Install Windows from a USB drive (create one using Microsoft’s Media Creation Tool). Follow the installation prompts, selecting your SSD as the installation drive. This process takes 15-30 minutes.
After Windows installs, download and install the latest drivers: GPU drivers from NVIDIA or AMD’s website, motherboard chipset drivers from the manufacturer’s support page, and any peripheral drivers needed. Updated drivers ensure maximum performance and stability.
Install your gaming platform of choice: Steam, Epic Games, Xbox Game Pass, or others. Once your PC is built, use gaming strategies and tips to boost in-game success. Build specs should support the best online multiplayer games at high FPS.
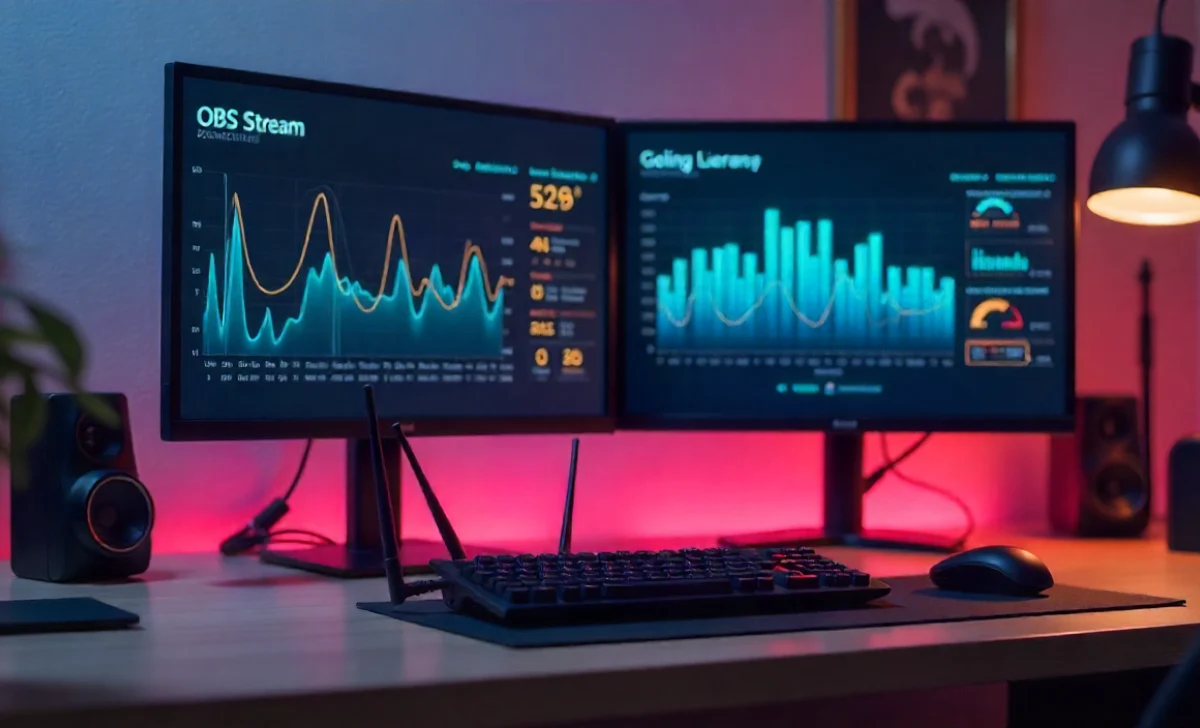
For streamers, download OBS Studio or Streamlabs for broadcasting. Set up game capture sources, overlays, and encoding settings. A powerful PC is a foundation if you plan to build a career in gaming. If you’re getting into esports, tailor your build for competitive-level performance.
Install monitoring software like MSI Afterburner or HWInfo to track temperatures and performance. These tools help you ensure everything runs correctly and identify potential issues early.
Don’t overlook a stable gaming network setup to maximise performance. Use an Ethernet connection instead of WiFi whenever possible for lower latency and more consistent speeds.
Fresh builds need optimization to reach their full potential. Start by running benchmarks using tools like 3DMark or Cinebench. These tests verify your system performs as expected and isn’t thermal throttling.
Monitor temperatures during stress tests. CPUs should stay under 85°C and GPUs under 80°C during gaming. Higher temperatures indicate cooling issues. Adjust fan curves in BIOS or use software like MSI Afterburner to increase fan speeds at higher temperatures.
Update Windows regularly to receive security patches and performance improvements. Set active hours so Windows doesn’t restart during gaming sessions. Disable unnecessary startup programs through Task Manager to improve boot times.
Clean your PC every 3-6 months. Dust buildup reduces cooling efficiency and can cause overheating. Use compressed air to blow dust from fans, heatsinks, and filters. Don’t forget essential gaming accessories like headsets and controllers to complete your build.
Consider upgrading components over time rather than building entirely new systems. GPUs and RAM are easily upgraded. CPUs can be upgraded within the same motherboard socket generation. This approach extends your PC’s useful life and spreads costs over time.
Understanding price tiers helps you maximize value. This build can also follow a budget gaming setup model if you’re cost-conscious.
| Component | Budget ($700-$900) | Mid-Range ($1,200-$1,500) | High-End ($2,000+) |
|---|---|---|---|
| CPU | Ryzen 5 5600 / i5-12400F | Ryzen 7 5700X / i5-13600K | Ryzen 9 7900X / i7-14700K |
| GPU | RX 6600 / RTX 4060 | RX 7700 XT / RTX 4070 | RX 7900 XTX / RTX 4080 |
| RAM | 16GB DDR4 3200MHz | 16GB DDR5 5600MHz | 32GB DDR5 6000MHz |
| Storage | 500GB NVMe SSD | 1TB NVMe Gen4 SSD | 2TB NVMe Gen4 SSD |
| PSU | 550W Bronze | 750W Gold | 850W Gold |
| Performance | 1080p High 60+ FPS | 1440p High 100+ FPS | 4K Ultra 60+ FPS |
Budget builds handle esports titles and popular multiplayer games at high frame rates. They’re perfect for beginners who want solid performance without breaking the bank. You’ll run modern AAA games at 1080p with medium-high settings.
Mid-range systems deliver excellent 1440p gaming with high refresh rates. They balance cost and performance beautifully. These builds handle streaming, content creation, and competitive gaming without compromise. Most gamers find this tier offers the best value.
High-end builds target 4K gaming, maximum frame rates, and future-proofing. They include premium components with RGB lighting and superior cooling. These systems excel at streaming, video editing, and professional esports. The performance headroom ensures they remain relevant for years.
Match your PC with the advice in the gaming room setup guide for an immersive feel. Consider your monitor when choosing a tier—pairing a high-end GPU with a 1080p 60Hz monitor wastes money.
Your new gaming PC opens doors beyond casual gaming. Many successful content creators and professional players started exactly where you are now.
Streaming requires additional consideration. You need enough CPU power to encode video while gaming. Use NVENC encoding on NVIDIA cards or AMD’s equivalent to offload work from your CPU. Set up a dedicated streaming space with proper lighting and audio equipment for professional results.
Competitive esports demands high frame rates and low input lag. Prioritize faster RAM and powerful CPUs that maintain consistent frame times. Pair your build with a high refresh rate monitor (144Hz minimum) and low-latency peripherals. Practice is crucial, but hardware matters in competitive scenarios.
Building a career in gaming isn’t limited to playing. Consider game development, content creation, community management, or hardware reviewing. Your PC building knowledge itself is valuable—you could help others build systems or start a tech channel. The gaming industry offers diverse opportunities beyond competing professionally.
Join online communities like Reddit’s r/buildapc or PC building Discord servers. These groups help troubleshoot issues and stay updated on new hardware releases. Networking with other PC builders and gamers can lead to collaboration opportunities.
Continue learning about PC hardware through YouTube channels, tech websites, and forums. Technology evolves rapidly. Staying informed helps you make smart upgrade decisions and optimize your system as new software releases.
Gaming PC costs range from $700 for budget builds to over $2,000 for high-end systems. Entry-level builds ($700-$900) handle 1080p gaming well. Mid-range systems ($1,200-$1,500) excel at 1440p with high frame rates. Premium builds exceed $2,000 and target 4K gaming or professional streaming. Component prices fluctuate based on market conditions, but building yourself typically saves 15-30% compared to prebuilt equivalents.
Yes, building a PC is generally cheaper than buying prebuilt systems with similar specifications. Custom builds eliminate manufacturer markup fees and shipping costs for assembled units. You also avoid paying for unwanted software or bloatware. However, prebuilts offer convenience, warranty coverage, and support. First-time builders should factor in their time investment and potential troubleshooting needs when comparing costs.
First-time builders typically complete assembly in 2-4 hours. This includes unboxing components, reading manuals, and careful installation. Experienced builders can finish in under an hour. Allow extra time for cable management, troubleshooting, and OS installation. Rushing increases the risk of mistakes. Taking your time ensures a clean build and helps you learn the process thoroughly for future upgrades.
You only need a Phillips head screwdriver for most builds. Additional helpful tools include zip ties for cable management, an anti-static wrist strap (optional), and scissors for opening packaging. Some cases have tool-less designs requiring no screwdriver at all. Avoid magnetic screwdrivers near sensitive components. Most builders already have everything needed around their home.
Absolutely. PC building is much simpler than most people think. Modern components are designed with clear indicators and can only fit one way. Detailed video tutorials walk through every step. The process is similar to assembling furniture with instructions. If you can follow directions carefully, you can build a PC. Millions of first-time builders successfully complete their systems every year.
Most CPU coolers come with thermal paste pre-applied to the base. Check your cooler’s documentation. If pre-applied, simply install the cooler. If not, apply a pea-sized amount to the CPU’s center before mounting the cooler. The mounting pressure spreads the paste evenly. Avoid using too much paste—excess doesn’t improve cooling and can create messy spills. Replace thermal paste every 2-3 years when reseating coolers.
Use PCPartPicker.com to verify compatibility automatically. This tool checks motherboard socket types, RAM compatibility, case clearance, and power requirements. Your motherboard determines CPU and RAM compatibility. Ensure your PSU provides enough wattage for all components. Check physical dimensions—verify your GPU fits in your case and your cooler doesn’t block RAM slots. Reading product specifications prevents compatibility issues.
Always install Windows on an SSD for dramatically faster boot times and system responsiveness. SSDs load the operating system in 10-15 seconds versus 30-60 seconds on HDDs. Applications launch instantly, and game loading screens disappear quickly. Reserve HDDs for mass storage of media files and less-played games. The speed difference is night and day—installing on an SSD is the single most impactful upgrade for system feel.
Building your own gaming PC empowers you with customization, better value, and invaluable technical knowledge. You’ve learned how to select compatible components, assemble them safely, and optimize your system for maximum performance. Whether you’re targeting budget-friendly 1080p gaming or premium 4K experiences, the fundamentals remain the same.
Start by choosing parts that fit your budget and performance goals. Take your time during assembly, follow instructions carefully, and don’t hesitate to reference guides when needed. Your completed build will outperform prebuilt alternatives while costing less.
Ready to build your ultimate gaming PC? Create a parts list today and join the thriving community of PC builders who enjoy unmatched gaming performance on their own terms.